Upgrading v0.9.9 to v0.9.10
3 minute read
For every Helm Chart upgrade, the steps in the following guide need to be executed.
Additionally, the following are the steps to upgrade from v0.9.9 to v0.9.10.
Steps before upgrading
New Grafana version
In this release we updated the Grafana version from 8.5.9 to 9.3.1. Check the release notes for further information about possible breaking changes that could affect you.
Grafana
If you don’t have any custom Grafana plugins installed, skip to step 4.
From Grafana, navigate to the Plugins section inside the Configuration tab
Make sure that only the installed plugins are selected

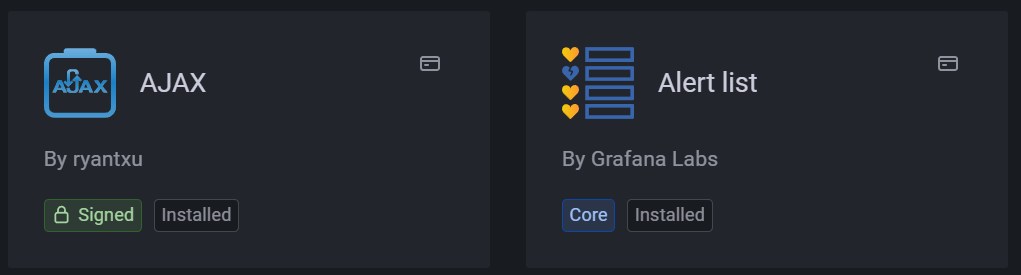
Write down all the plugins that you manually installed. You can recognize them by not having the
Coretag. Also, the following ones already come with the UMH stack, thereby you don’t need to note them.- ACE.SVG by Andrew Rodgers
- Button Panel by UMH Systems Gmbh
- Button Panel by CloudSpout LLC
- Discrete by Natel Energy
- Dynamic Text by Marcus Olsson
- FlowCharting by agent
- Pareto Chart by isaozler
- Pie Chart (old) by Grafana Labs
- Timepicker Buttons Panel by williamvenner
- UMH Datasource by UMH Systems Gmbh
- Untimely by factry
- Worldmap Panel by Grafana Labs
From Lens, under Deployments, remove the Grafana deployment. This will cause a brief downtime, but no data will be lost.
Now you can proceed with the other steps on this guide before upgrading.
Updating the Grafana init container
Search for “grafana-plugin-extractor”
Replace
extraInitContainers:
  - image: unitedmanufacturinghub/grafana-plugin-extractor:0.1.4
    imagePullPolicy: IfNotPresent
    name: init-umh-datasource
    volumeMounts:
    - mountPath: /var/lib/grafana
      name: storage
With
extraInitContainers:
    - image: unitedmanufacturinghub/grafana-umh:1.1.2
      name: init-plugins
      imagePullPolicy: IfNotPresent
      command: ['sh', '-c', 'cp -r /plugins /var/lib/grafana/']
      volumeMounts:
        - name: storage
          mountPath: /var/lib/grafana
Increasing the Kafka memory limit
Open Lens and navigate to Helm > Releases and press on Upgrade.
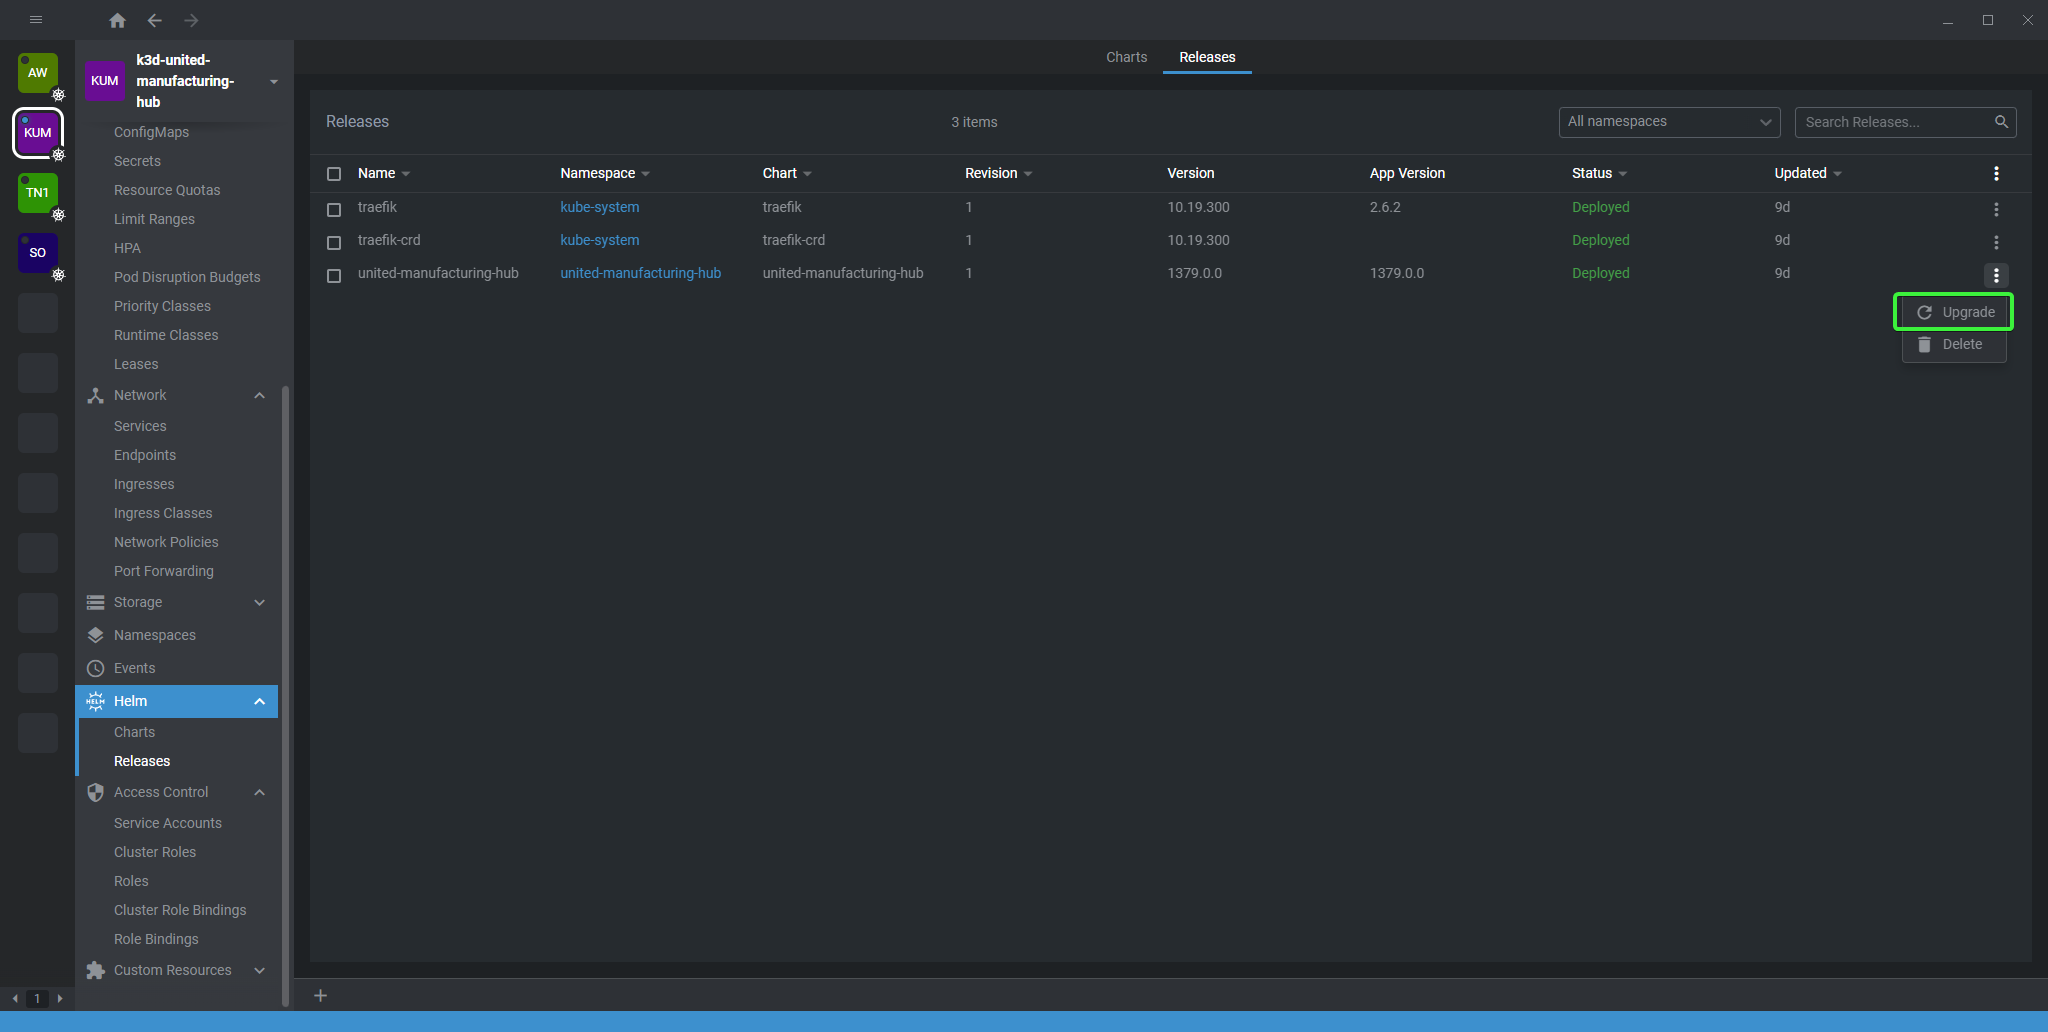
You will be presented with the
values.yamlfile. PressCTRL + Fto open the search menu.Type
cpu: 1000mand find the line that matches that value in thekafkasection.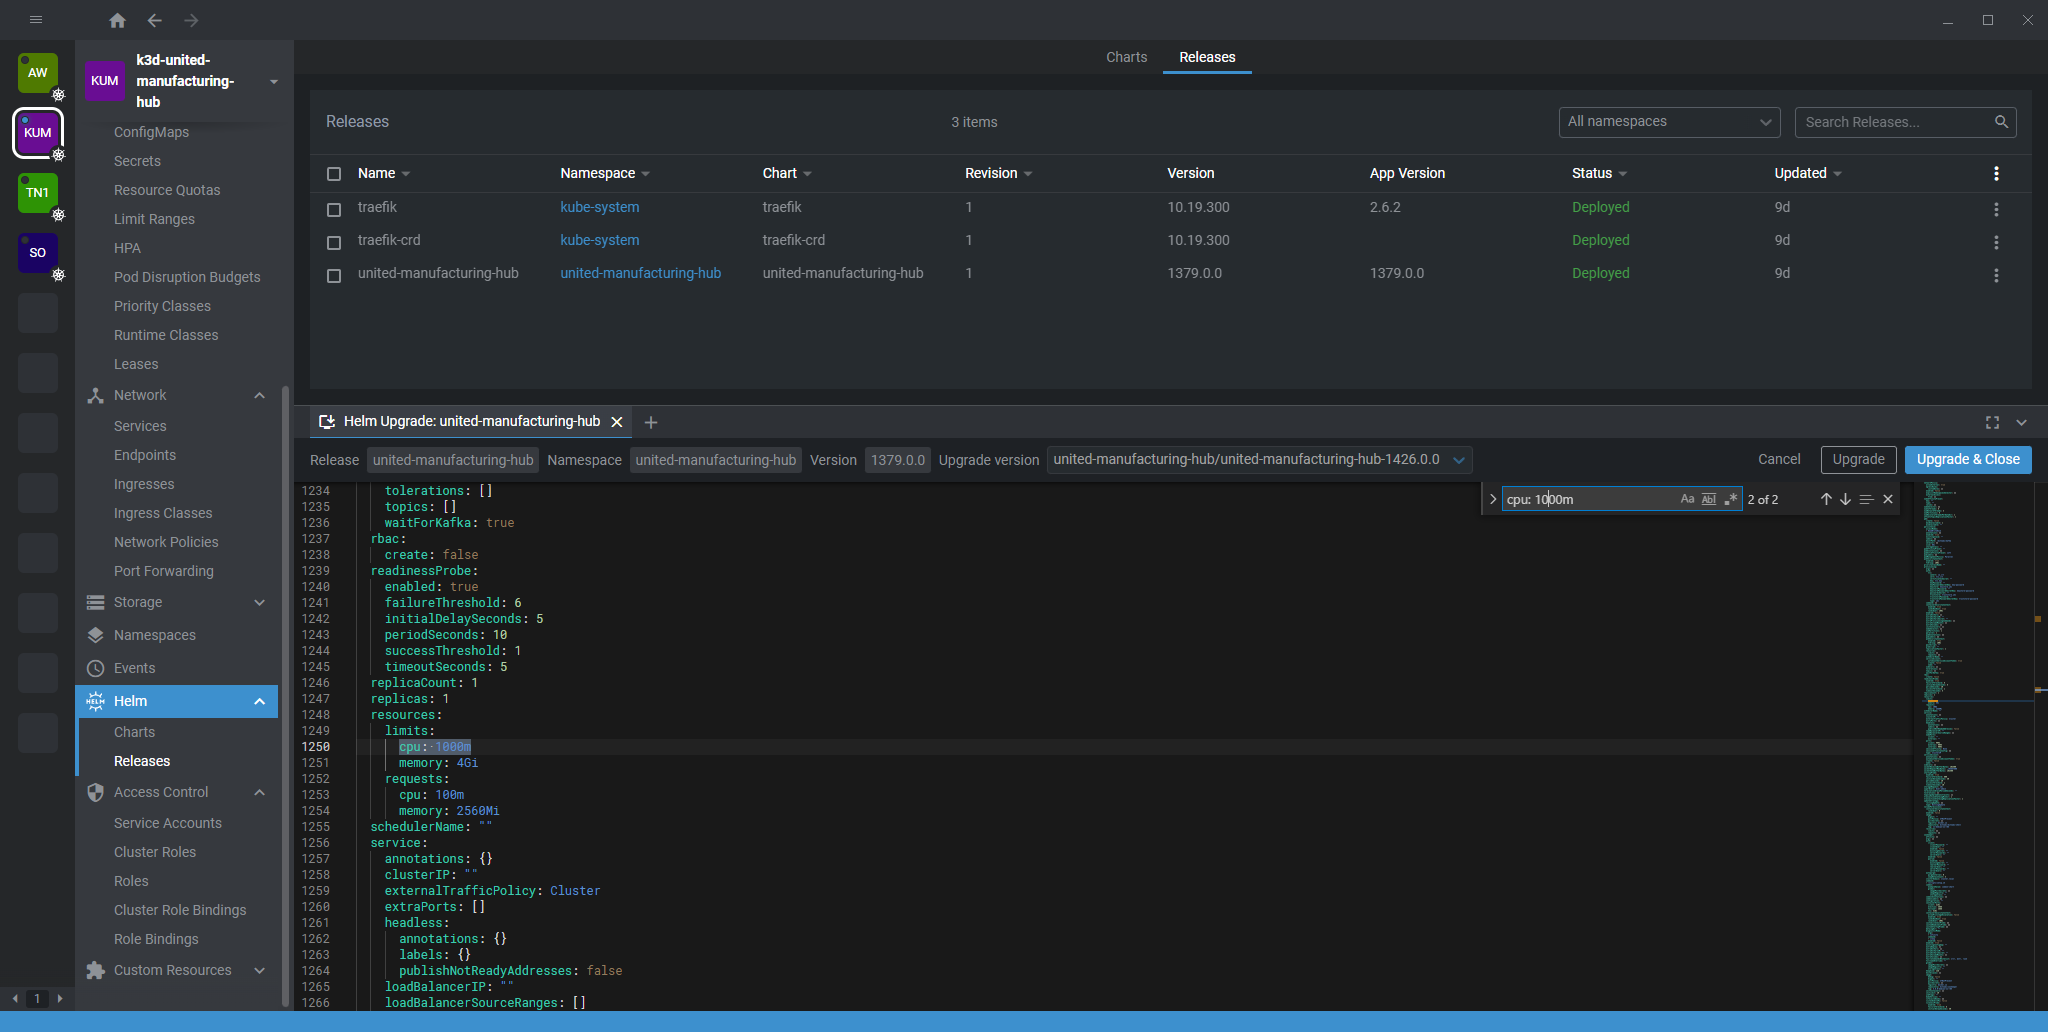
Replace these lines:
resources:
    limits:
      cpu: 1000m
      memory: 1Gi
    requests:
      cpu: 100m
      memory: 250Mi
with these
resources: limits: cpu: 1000m memory: 4Gi requests: cpu: 100m memory: 2560Mi- Ensure, that the indentation is correct
Wrong

Correct
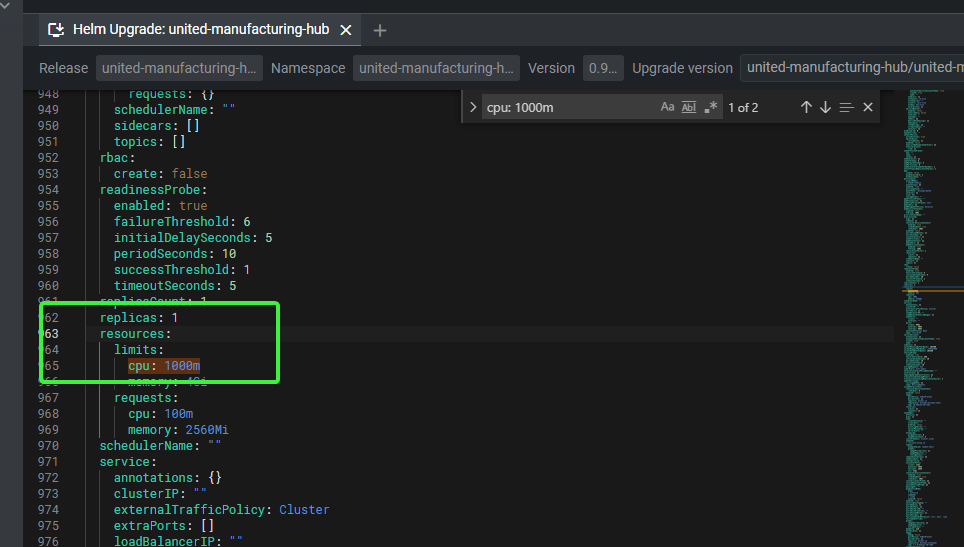
- Ensure, that the indentation is correct
Now search for
heapOptsIf you can’t find the line, go back to your previous search (by searching again) and add the heapOpts line, so it looks like this
resources:
    limits:
      cpu: 1000m
      memory: 4Gi
    requests:
      cpu: 100m
      memory: 2560Mi
heapOpts: -Xmx2048m -Xms2048m
If the line is already existing, check if the Xmx and Xms values are at least 2048m and lower then the request.memory
Once you completed all the previous steps, you can press the upgrade button.
Steps after upgrading
After the upgrade is successful, you need to follow these additional steps.
Replacing VerneMQ with HiveMQ (recommended)
In this upgrade we switched from using VerneMQ to HiveMQ as our MQTT Broker (you can read our blog article
if you want to learn more about this). While this process is fully backwards compatible, we suggest to update NodeRed flows, and any other additional service that uses MQTT, to use the new broker called united-manufacturing-hub-mqtt. The old united-manufacturing-hub-venremq is still functional and despite the name also uses HiveMQ, but in future upgrades will be removed.
Additionally, it is highly recommended to enable password authentication for MQTT in a production environment. Follow this guide to learn how:
Also, all services might now communicate via encrypted MQTT (MQTTS).